7 Must-Have DIY Garden Decor Ideas for Every Season
Ready to transform your garden into a seasonal delight? I’m excited to share seven must-have DIY garden decor ideas that bring charm and creativity to your outdoor space all year round. From rustic wooden planters to upcycled art, each project is simple, fun, and budget-friendly. Let’s dive into these inspiring ideas that will help you express your style, attract wildlife, and enjoy every moment in your garden.
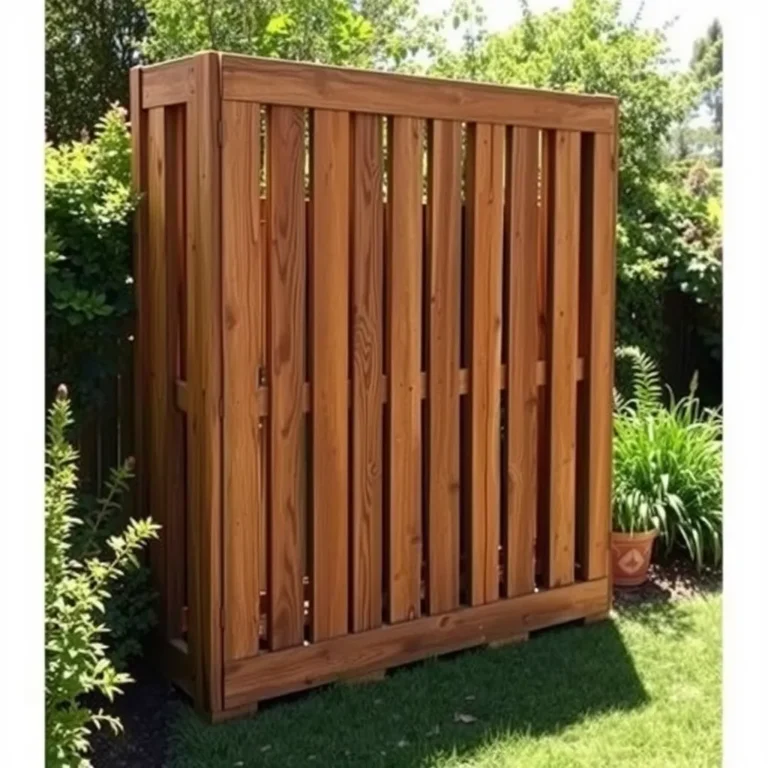
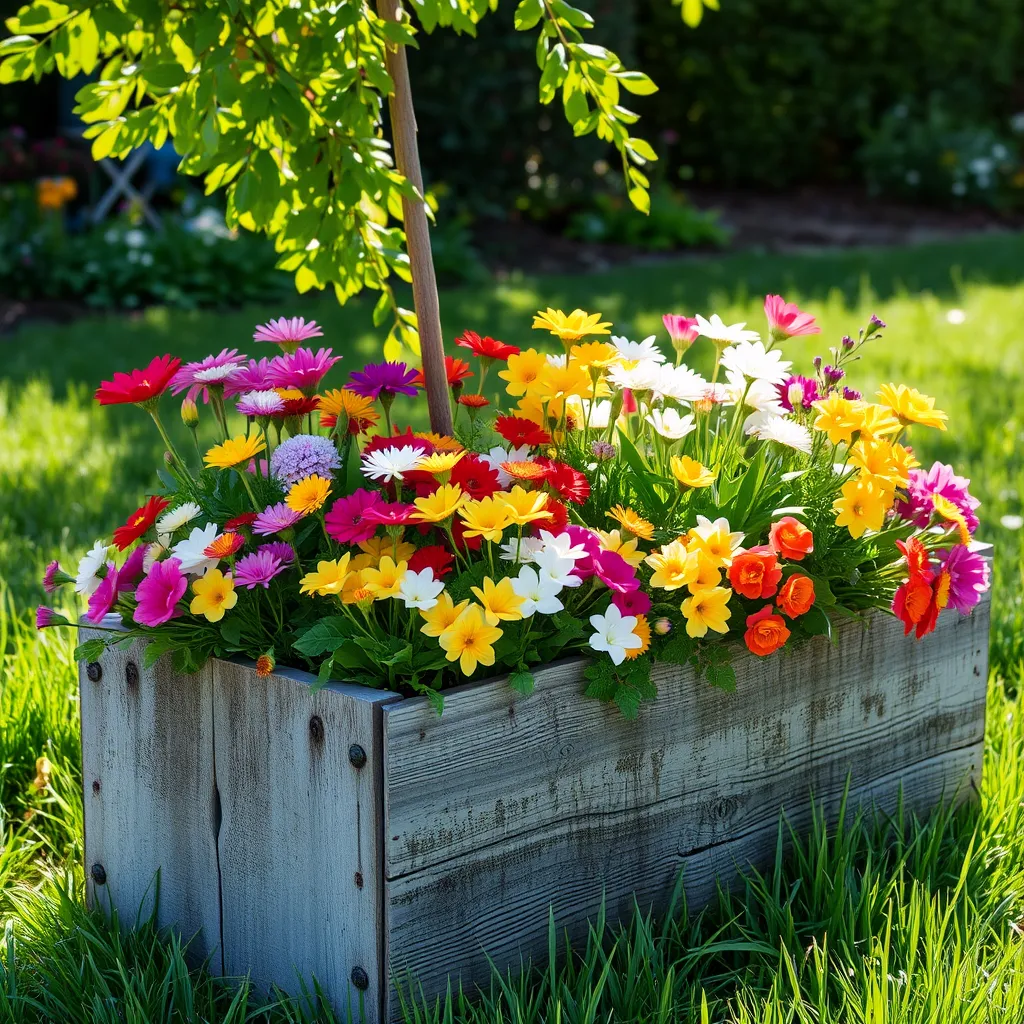
Rustic Wooden Planters for Spring

For spring, I love making rustic wooden planters. They add charm and style to my garden. Here’s how you can make them too.
Materials needed:
– Reclaimed wood
– Nails
– Paint
Step-by-step instructions for construction:
1. Gather your wood. Look for old pallets or fence boards.
2. Cut the wood. Use a saw to cut pieces for the sides and bottom.
3. Build the frame. Nail the pieces together to form a box.
4. Add a bottom. Nail a solid piece to the bottom for stability.
5. Sand the edges. Smooth any rough spots to avoid splinters.
6. Paint if desired. Use outdoor paint to add color or protect the wood.
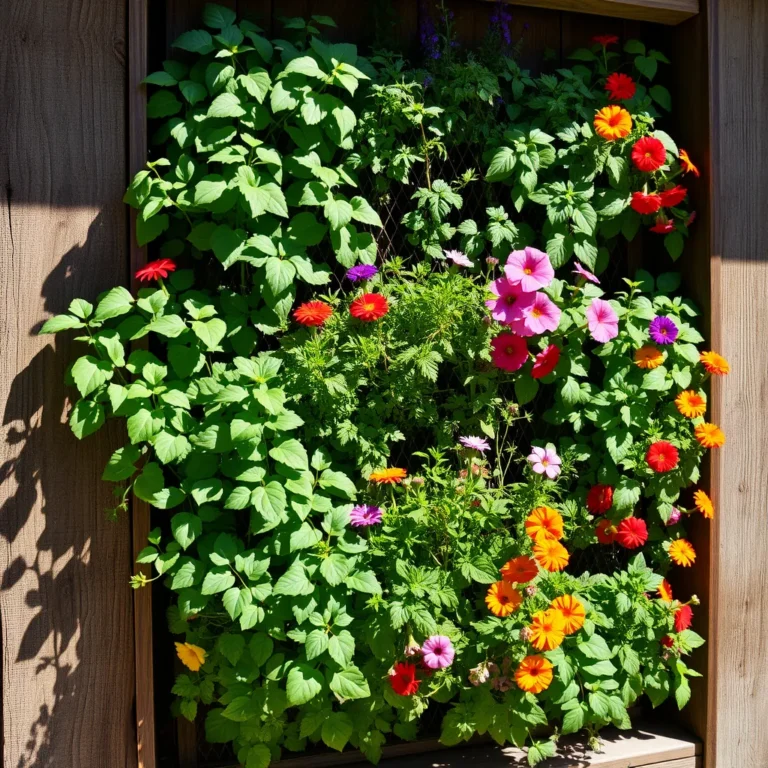
Tips on seasonal planting for optimal growth:
– Start with good soil. Mix in compost for nutrients.
– Choose spring flowers like pansies or petunias. They bloom early.
– Water your plants regularly as they grow. Check the soil moisture.
– Arrange your planters in sunlight. Most spring flowers love the sun.
These planters not only look great but also help your plants thrive. Enjoy your spring garden!
Colorful Tin Can Lanterns for Summer

To make colorful tin can lanterns, you need a few simple items. Gather empty tin cans, wire, and LED tea lights.
1. Start by prepping your cans. Fill each can with water and freeze them overnight. This helps keep the can sturdy.
2. Once frozen, take the can out of the freezer. Run warm water over it for a few seconds. This makes it easy to remove the ice.
3. Now, use a hammer and nail. Carefully punch holes in the can to create fun designs. You can make stars, hearts, or any shapes you like.
4. After you finish the holes, paint the can. Use bright outdoor paint for a splash of color.
5. Let the paint dry completely. Once dry, wrap wire around the top edge of the can. Create a handle to hang the lantern.
6. Finally, place an LED tea light inside. These lights are safe and don’t get hot.
For maintenance, check the lanterns after heavy rain. Touch up any paint if needed. Hang them in a spot that stays dry to keep them bright. Enjoy your beautiful summer nights!
Autumn Leaf Wreaths

Materials needed:
– Dried leaves
– Wire frame
– Glue
To make an autumn leaf wreath, start with a wire frame. Gather your dried leaves. Choose colorful ones for a vibrant look.
Next, apply glue to the leaves. Start at one end of the frame. Press the leaves onto the wire frame. Overlap the leaves for a fuller look. Keep adding leaves until you cover the frame completely.
For durability, consider these tips. Use a strong outdoor glue. Add a protective spray to shield against rain. Hang the wreath in a sheltered spot. This helps it last longer against wind and rain.
This wreath will bring the beauty of fall to your garden. It can also make a great gift for friends.
Winter Bird Feeders with Pine Cones

To make winter bird feeders, gather these materials:
– Pine cones
– Peanut butter
– Birdseed
Start by spreading peanut butter on the pine cones. Make sure to cover them well. Then, roll the pine cones in birdseed. Press down gently so the seeds stick.
Next, tie a strong string around the top of the pine cone. This makes it easy to hang. Find a tree branch or hook in your yard to place the feeder. Make sure it’s high enough to keep birds safe from pets.
To attract different bird species, place feeders in various spots. Use sunflower seeds for larger birds like cardinals. For smaller birds, use mixed seeds. You can also add dried fruit to invite more species.
Watching birds come to your feeder is a joy. It brings life to your garden during cold winter months.
String Light Garden Canopy for All Seasons

To create a lovely string light garden canopy, you need a few simple materials. Gather string lights, hooks, and extension cords. These items will help you bring light to your garden during all seasons.
Setup Instructions
1. Choose the Location: Pick a spot in your garden where you want to hang the lights. It should be open and have something to attach the lights to, like trees or poles.
2. Install Hooks: Use hooks to hang the string lights. Space them evenly to make it look nice. Make sure they are secure.
3. Hang the Lights: Carefully drape the string lights from hook to hook. Try to create a zigzag pattern or let them hang straight down for a cozy feel.
4. Connect the Extension Cords: Plug the string lights into an extension cord. Ensure it reaches a safe power source.
Design Ideas
– Use warm white lights for a soft glow.
– Mix different colors of lights for a fun look.
– Add lanterns or candles for extra charm.
Safety and Weatherproofing Tips
– Always check that your lights are rated for outdoor use.
– Use waterproof extension cords to avoid short circuits.
– If storms are coming, take down the lights to prevent damage.
Painted Rock Garden Markers for Visual Appeal

Materials needed:
– Smooth rocks
– Outdoor paint
– Sealer
Steps for painting and labeling plants
1. Choose smooth rocks: Look for flat, smooth rocks. These make great canvases.
2. Clean the rocks: Wash them to remove dirt. Let them dry completely.
3. Paint the rocks: Use outdoor paint. You can pick bright colors for fun.
4. Label your plants: Write the names of your plants. Use a fine brush for neatness.
5. Seal the paint: After it dries, add a clear sealer. This keeps the paint from fading.
Recommendations for placement and protection from elements
– Place them near plants: Put the markers close to the plants they label. This helps you find them easily.
– Choose a sunny spot: Avoid shade, as it may fade the colors.
– Protect from heavy rain: If you expect storms, move the markers. This helps keep them safe and visible.
Upcycled Garden Art with Bottles and Jars

You can make stunning garden art using glass bottles and jars. This project is easy, fun, and great for the environment.
Materials needed:
– Glass bottles or jars
– Wire
– Paints
Start by cleaning your bottles and jars. Remove any labels and stickers. Next, think about how you want to shape your art. You can use wire to connect bottles. This makes great sculptures. Use pliers to twist the wire together.
Painting adds color and life to your art. Use outdoor paint to resist the weather. You can paint fun designs or your favorite colors. Let the paint dry completely before placing them in your garden.
Once your sculptures are ready, find a spot in your garden. You can place them among flowers or in a quiet corner. This adds a personal touch to your yard.
To keep your art looking great, do some maintenance. Check for cracks or chips. Clean the bottles as dust builds up. If the paint fades, add a fresh coat.
With this simple DIY project, your garden will shine with your unique style.
Conclusion
In this article, we explored fun, simple projects for each season. We covered rustic wooden planters, colorful tin can lanterns, autumn leaf wreaths, winter bird feeders, string light canopies, painted rock markers, and upcycled garden art. Each project needs basic materials and clear steps to make. With these ideas, you can enjoy nature, add beauty, and help wildlife thrive. Dive into your backyard and start crafting today. Happy creating!