9 Whimsical Garden Ideas to DIY for a Magical Backyard
Ready to transform your backyard into a magical haven? In this post, I’ll share nine whimsical garden ideas you can DIY today! From enchanting fairy gardens to colorful flower pot creatures, these projects bring charm and joy to your outdoor space. I’ll guide you through each step, plus share tips on materials, costs, and solutions for common challenges. Let’s dive in and create your dreamy garden oasis!
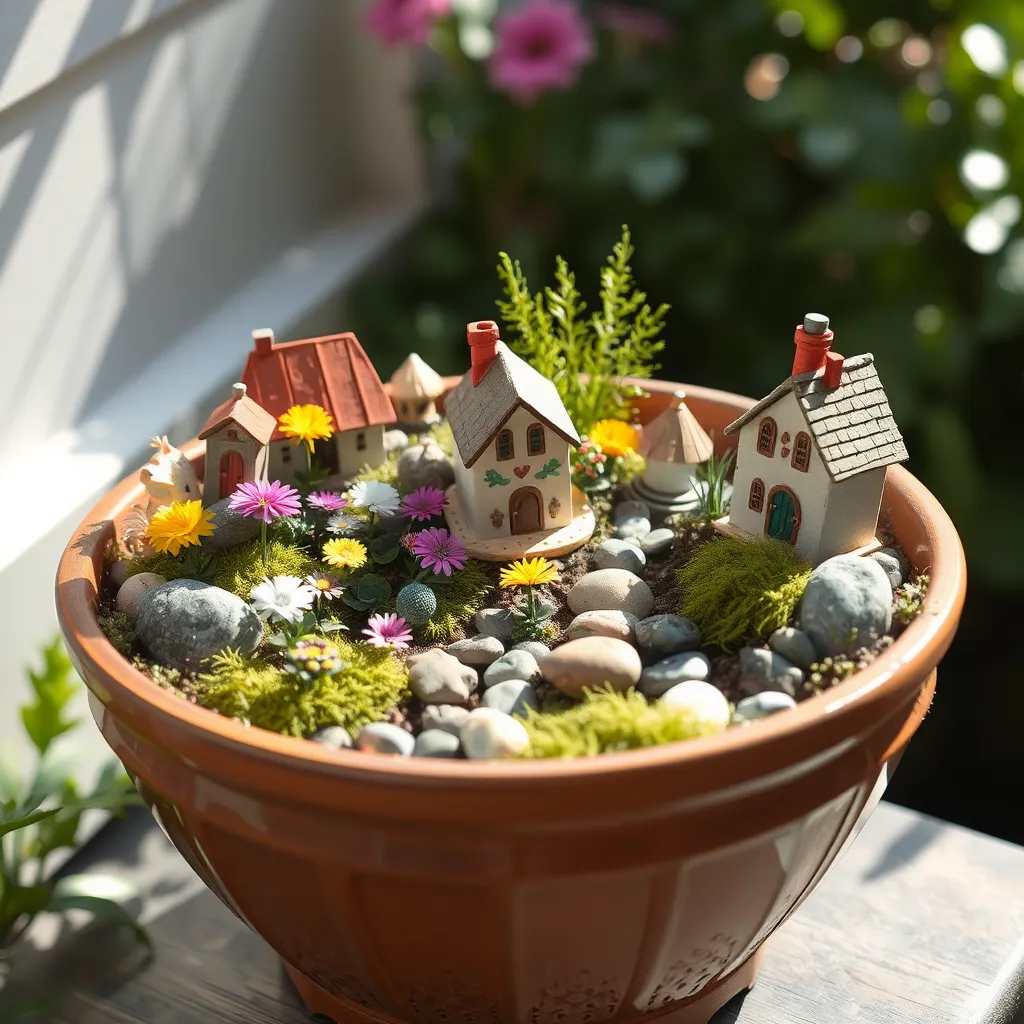
Enchanted Fairy Garden

To make an enchanted fairy garden, start with a small container. You can use a pot, a wooden box, or even a birdbath. Fill your container with potting soil, leaving some space at the top.
Next, choose small plants. Look for tiny flowers, moss, or succulents. Arrange them in your soil. Add some decorative stones to create paths. You can also use marbles for a magical touch.
Now it’s time for fairy accessories! Look for miniature houses, tiny furniture, or little figurines. You can find these at craft stores or online. Place them around your plants to create a cozy scene.
Don’t forget to add some sparkle! Use glitter or small gems to make the garden shine. Finally, place your garden in a spot where it can be seen and enjoyed. Water your plants, and watch your fairy garden grow!
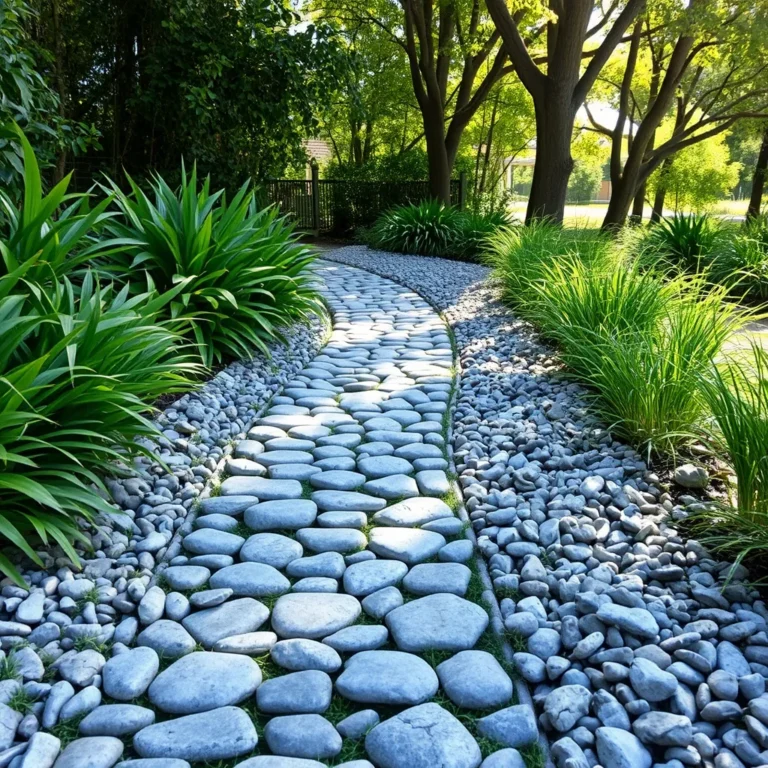
Whimsical Pathway Markers

Creating whimsical pathway markers is easy and fun. First, gather your materials. You will need concrete mix, a mold, and colorful mosaics or stones.
Start by mixing the concrete according to the package. Pour it into the mold and let it set. Once it hardens, remove it from the mold.
Now, it’s time to add color! Use glue to attach colorful mosaics or stones to the top of the stepping stone. You can create any design you like. Be creative!
Let the glue dry, then place your stones along your garden path. They will guide friends through your magical garden and add charm to your space.
DIY Flower Pot Creatures

Making DIY flower pot creatures brings joy to any garden. Start with empty flower pots. You can use any size, but small ones work best for cute creatures.
Pick your paint colors. Use bright colors to make your creatures pop. Paint each pot with a base coat and let it dry.
Next, add features. Use paint to create eyes, mouths, and fun designs. You can also add accessories like pipe cleaners for antennae or felt for ears.
Once your creatures are dry, place them in your garden. You can put them next to flowers or along paths. They will add character and make you smile every time you see them!
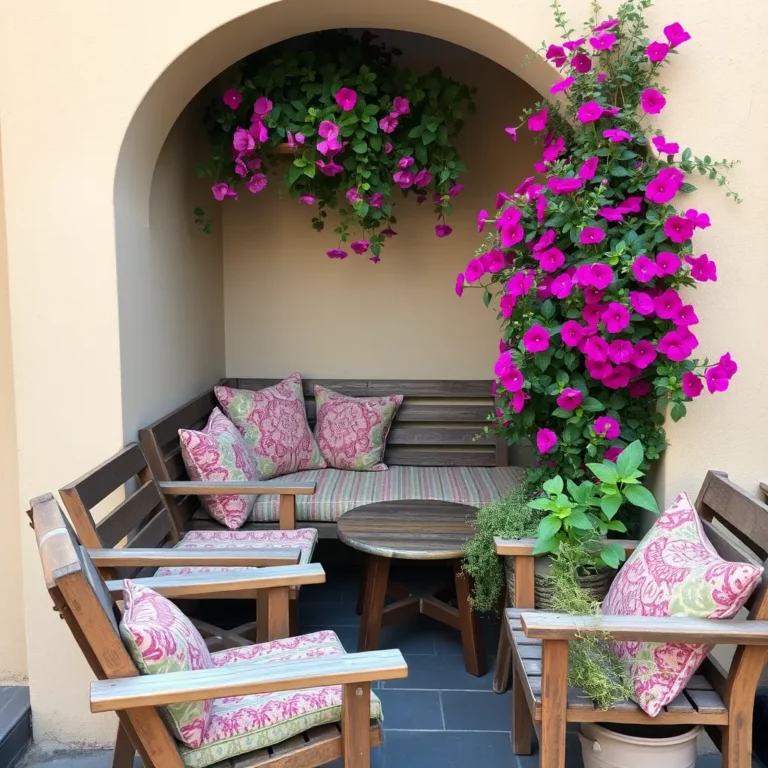
Magical Moon Garden

To create a magical moon garden, start with white flowers. These flowers shine bright at night. Think of plants like moonflowers, white roses, and night-blooming jasmine. They smell great and attract nighttime pollinators too. Next, add reflective elements. Use mirrors or shiny stones to catch the moonlight. This makes your garden glow softly.
Place lights along pathways. Solar lights work well and keep things simple. Choose lights that mimic stars or fireflies. Hang fairy lights in trees for a cozy feel. You can also use lanterns to light up sitting areas.
To make it even more special, add a sitting spot. A bench or a swing can be lovely. This spot allows you to enjoy the night sky. With these tips, your moon garden will feel like a dream.
Vintage Teacup Bird Feeders

Do you have old teacups? Let’s turn them into bird feeders! First, gather your materials. You need:
– Old teacups
– Strong glue
– A small plate
– Twine or wire
Start by gluing the teacup to the plate. Make sure the cup’s opening faces up. This will hold the birdseed. Once it dries, tie twine or wire to the handle. Hang it from a tree branch.
Fill the teacup with birdseed. Watch as birds come to enjoy your creation. This project not only helps birds but also adds charm to your garden. It’s a fun way to recycle too!
Colorful Garden Wind Chimes

Colorful wind chimes can add sound and beauty to your yard. To make your own, you can use:
– Old pots or cans
– Beads
– String or fishing line
– A stick or wooden dowel
Start by drilling small holes in the pots or cans. Make sure they are evenly spaced. Next, cut lengths of string. Tie one end to each pot. On the other end, tie the string to the stick.
Add beads to the string for color. Hang your wind chimes where the wind can catch them. The sound will be soothing, and the colors will brighten your space. This project is a great way to use old items and create art!
Painted Rock Garden Art

You can make painted rocks for your garden. First, gather smooth rocks. Pick rocks of different sizes. Wash them with soap and water. Let them dry completely. Then, choose bright, fun colors. Use non-toxic paint for safety.
Start painting your designs. You can make flowers, animals, or patterns. Let your creativity flow! Allow the paint to dry before moving on. To protect your art, spray a clear sealant. This keeps colors bright and safe from rain.
Place your painted rocks around your garden. You can use them as markers for plants. Or, display them as fun art pieces. This adds a lively touch to your space.
Garden Gnome Village

Creating a garden gnome village is fun and easy. Start with a few small gnomes. You can buy them or make your own. Use clay or wood for a DIY option.
Choose a spot in your garden. This will be the village area. Add small plants to create a cozy feel. You can use flowers or tiny bushes.
Make little props like tiny fences or houses. You can use twigs or stones for this. Place them around the gnomes. This adds a magical touch. Watch your village come to life!
DIY Mosaic Garden Bench

A mosaic garden bench is a great project. Start with a simple wooden bench. You can find one at a store or build it. Make sure it is sturdy and stable.
Gather colorful tiles, glass pieces, or stones. Cut them into small shapes if needed. Plan your design before starting. You can create patterns or images.
Use glue to attach the pieces to the bench. Work from one side to the other. Let the glue dry completely. After that, fill gaps with grout. Smooth it out and let it set.
Once finished, your bench will shine in the sun. It will be a great spot to relax and enjoy your garden.
Material Checklist

To start your whimsical garden, gather these items for each project:
– Non-toxic paint for safety
– Paintbrushes in various sizes
– Concrete mix for pathway markers
– Mosaics or colorful glass pieces
– Flower pots for creatures
– Outdoor-safe sealant
– Old teacups for bird feeders
– String or wire for wind chimes
– Colorful rocks for painting
– Miniature gnomes or props
– Wood or sturdy base for benches
– Grout for mosaic work
– Plants for decoration
Having these materials ready will make your DIY process smooth and fun.
Estimated Costs

Here’s a rough budget breakdown for each project:
– Enchanted fairy garden: $20-$30
– Whimsical pathway markers: $15-$25
– DIY flower pot creatures: $10-$20
– Magical moon garden: $30-$50
– Vintage teacup bird feeders: $5-$15
– Colorful garden wind chimes: $10-$20
– Painted rock garden art: $10-$15
– Garden gnome village: $25-$40
– DIY mosaic garden bench: $50-$100
These costs can help you plan your magical garden without overspending.
Anticipating Challenges

Here are some common challenges you might face:
– Weather Issues: Rain can delay outdoor work. Choose a sunny day for your projects.
– Material Shortages: Some items might not be available. Have backup options ready.
– Time Management: Projects can take longer than planned. Set aside extra time for each task.
– Skill Levels: Some tasks may seem hard. Start with easier projects and build up your skills.
By being prepared for these challenges, your whimsical garden will come to life more easily.
Conclusion
In this blog post, you learned how to create a magical fairy garden. From whimsical pathways to colorful garden art, each project adds charm to your space. We explored DIY flower pot creatures and transformed teacups into bird feeders. You can make your garden come alive with simple steps.
With a bit of time and creativity, you can build your enchanting garden. Remember to gather materials and budget wisely. Embrace the fun, face challenges, and enjoy the process. Happy gardening!